


Testing is one of those practices that software engineers frequently consider and implement during development. It’s crucial not only to deliver high‑quality code but, more importantly, to ensure that our code behaves exactly as intended.
In recent years, Swift has blessed us with XCTest (and its UI variant, XCUITest), and more recently (introduced at WWDC 2024), a new Swift‑native testing framework (often referred to as “Swift Testing”). In this article, I’ll focus exclusively on unit testing (and not UI testing, which I’ll leave for a future piece).
In most apps, there are a few parts of the codebase that change constantly, think view models, API layers, or anything tied to backend contracts. These components are especially prone to bugs and regressions. XCTest makes it easy to lock in expectations around behavior and data shape. For example, if a backend response changes a field from an Int to a String, a well-written test can immediately catch the issue before it hits production.
Let’s walk through how to structure tests around these kinds of components using XCTest, and also address some common interview questions about XCTest and compare it to the newer Swift Testing framework.
1- The Importing Statement
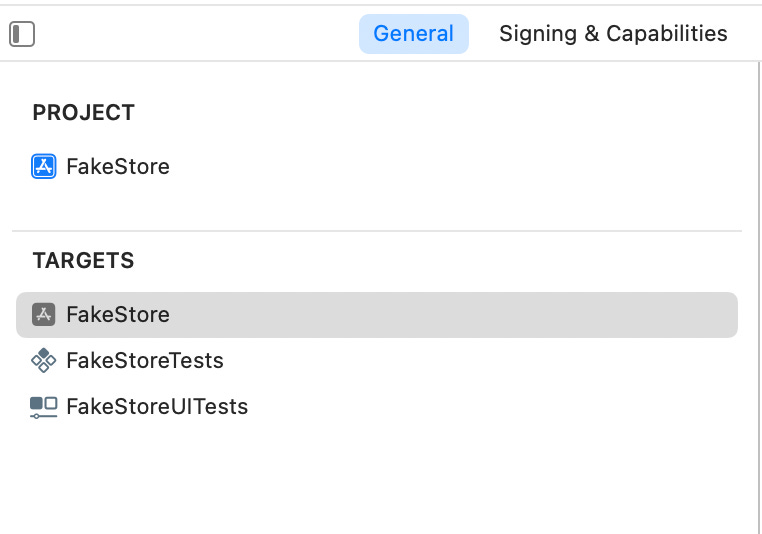
First things first! After adding a testing target to your project, you need to import the appropriate testing framework. Importing the testing framework allows you to access all the tools and APIs required to write and run your tests.
For example, if you’re using XCTest, you’ll typically start your test file with:
import XCTestThis gives you access to everything from test case classes (XCTestCase) to assertions like XCTAssertEqual, XCTFail, and others. Without importing the framework, your test classes and methods won’t compile or be recognized by the test runner.
If you’re using the newer Swift Testing framework, the import statement would look like this:
import TestingThis gives you access to newer testing features such as macros (#expect, #require) and attributes like @Test.
2- @testable import
To actually test your app or module’s code, you also need to import your main target. And here’s where a special keyword comes in:
@testable import MyAppUsing @testable allows your test code to access internal declarations from the MyApp module, not just the public ones. This is especially useful when writing unit tests for classes, structs, or methods that are not exposed publicly but still need to be tested. Need a refresher on Swift’s access levels? I got you here.
Without @testable, you’d only be able to test things explicitly marked as public, since the app and the test are different targets, which is often too limiting for real-world testing.
Make sure your app or module is listed as a dependency in the test target; otherwise, the import won’t work.
Bonus Tip
If @testable import isn’t working, double-check these:
Your target’s “Defines Module” build setting is set to
YES.Your test target has the app/framework as a dependency.
The file or symbol you’re testing is marked as at least
internal(notprivate).
3- Building Blocks: Class or Struct
XCTest: Classic Style Using a Class:
final class ProductViewModelTests: XCTestCase {final class: XCTest test cases must be defined as classes, not structs. Marking the classfinalis a good practice for performance and clarity, but not strictly required.XCTestCase: This class must inherit fromXCTestCase, which provides the testing lifecycle methods (setUp,tearDown, etc.) and makes the test methods discoverable by Xcode.Without subclassing
XCTestCase, your test methods won’t be recognized or executed.
Example:
import XCTest

final class ProductViewModelTests: XCTestCase {
    func testProductName() {
        XCTAssertEqual(viewModel.product.name, “Widget”)
    }
}
Swift Testing: Modern Style Using a Struct:
struct ProductViewModelTest {struct: In Swift Testing, you define your test cases as plain Swift structs. There’s no need to use a class or inherit from anything.This makes your tests feel more lightweight and aligns better with Swift’s value-oriented design.
Since Swift Testing doesn’t rely on inheritance, it uses macros and attributes (like
@Test) to register and run tests.
Example:
import Testing

struct ProductViewModelTest {
    @Test
    func testProductName() {
        #expect(viewModel.product.name == “Widget”)
    }
}
4- Method Definitions Compared
Let’s also compare how test functions are defined in both frameworks.
XCTest
func testProductName() {
    XCTAssertEqual(viewModel.name, “Widget”)
}
The method name must begin with
testfor it to be discovered by Xcode.No annotations or decorators, just follow naming conventions.
Swift Testing
@Test
func productNameIsCorrect() {
    #expect(viewModel.name == “Widget”)
}
In Swift Testing, you use the
@Testmacro to mark a method as a test, so you’re not limited by method naming conventions.Assertions use the more readable
#expectmacro instead ofXCTAssertfunctions.
5- How Test Methods Start: XCTest vs Swift Testing
XCTest Method Structure:
In XCTest, each test method is a function inside a class that inherits from XCTestCase. The test method:
Must start with the prefix
test— this is how Xcode discovers your tests automatically.Returns
Voidand takes no parameters.Uses XCTest assertion functions inside the method to verify conditions.
Example:
func testProductNameIsCorrect() {
    XCTAssertEqual(viewModel.product.name, “Widget”)
    XCTAssertNotNil(viewModel.product.id)
}
Here, the method starts with test, signaling to the XCTest runner that this method is a test case.
Swift Testing Method Structure:
Swift Testing uses a completely different approach:
Test methods are regular functions inside a
struct.Marked explicitly with the
@Testattribute (macro), so naming doesn’t matter for discovery.Uses new, expressive assertion macros like
#expect,#require.
Example:
@Test
func productNameIsCorrect() {
    #expect(viewModel.product.name == “Widget”)
    #require(viewModel.product.id != nil)
}
Here, the @Test attribute tells the test runner to include this method, and #expect/#require are used for assertions.
For a closing thought, when should we use one over the other?
Use XCTest when:
You’re working on an existing project with legacy tests.
You need UI tests (
XCUITest).You need fine control over the test lifecycle (e.g., async expectations, performance testing).
Your team is already standardized on XCTest.
Use Swift Testing when:
You’re using Xcode 16+ and want a modern Swift-native syntax.
You’re writing new tests and prefer structs, macros, and less boilerplate.
You want clearer, more expressive assertions with things like
#expect.
That’s it for this one! If you enjoyed this article, be sure to subscribe to receive a free new article every two weeks. If you have any thoughts or feedback, I’d love to hear them! Feel free to leave a comment on this article.
See you in the next one!